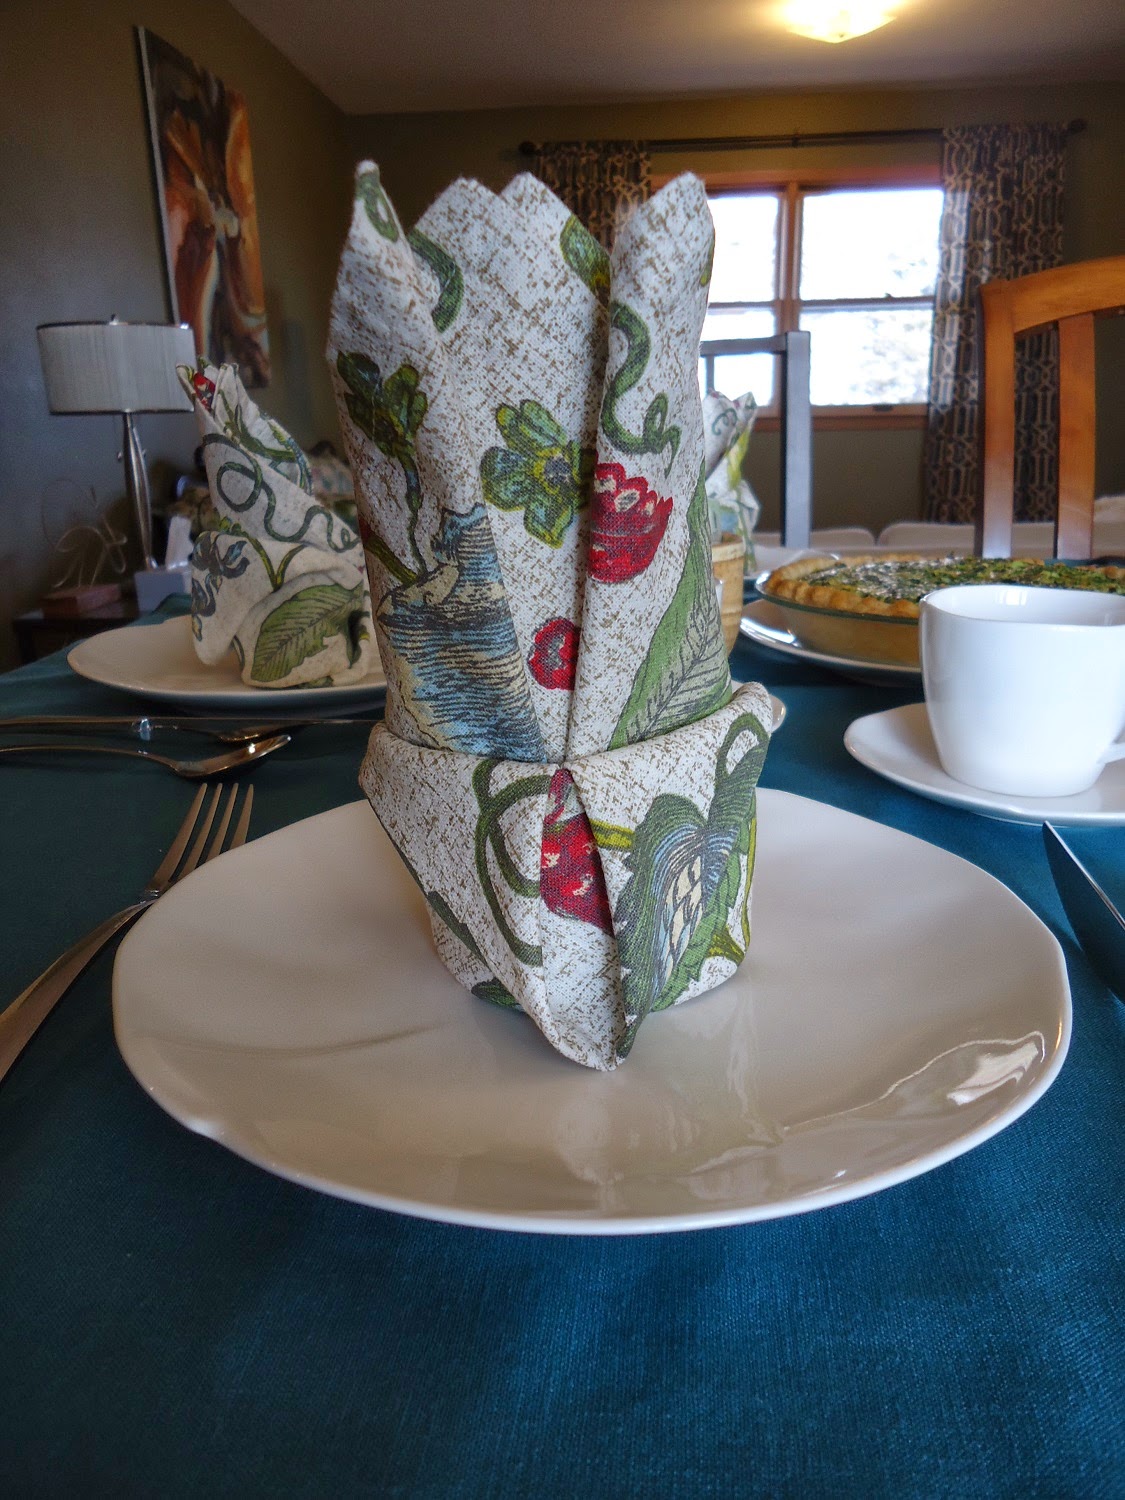
How to: Napkin Folding - Bishop's Hat
I have been interested in napkin folding since I was a kid. I remember examining folded napkins at dinner in fancy restaurants (restaurants fancy enough to have a folded cloth napkin!) and figuring out how it was done. I almost exclusively use cloth napkins at home, but I don't usually do anything special with them. The other night on the Tonight Show Starring Jimmy Fallon, Mr. Fallon was making jokes about books to not read in a segment called Do Not Read List. One of the books in the list was a napkin folding book! Well, that got me thinking that I should fold the napkins for the coffee group today, as seen in the previous entry and above. Here I will show you how I did those napkins, which is a variation of the style called Bishop's Hat. Then I will show you the proper way to do Bishop's Hat.
Step 1. Get a square napkin. You should probably iron it. I did not, as you can see. I chose one that has a front and a back to help visualize what is going where, etc. Use any square napkin!
Step 2. If your napkin has a backside, flip it over. Then fold it in half like so.
Step 3. Fold up both corners so the points meet and the whole thing makes a square again.
Step 4. Fold the bottom corner up to meet the other points.
Step 5. Fold the front flap top corner down.
Step 6. Keeping all the folds in place, flip the whole thing over.
Step 7. Fold both corners in, tucking one into the other.
Step 8. Carefully pick it up, holding the tucked in parts so they don't come apart and open it up....
...so that it will stand on its own!
Voila, you have completed a lovely napkin similar to Bishop's Hat.
Here is a proper Bishop's Hat, starting from Step 3 above.
Step 4. Fold up the bottom corner to 1 inch from the top.
Step 4. Fold up the bottom corner to 1 inch from the top.
Step 5. Fold down the tip.
Step 6. Carefully holding all the folds in place, flip over.
Step 7. Fold the sides in, tucking one into the other.
 |
| It looks wonky because my folds aren't as crisp as they could be. |
...so that it will stand in its own!
You can see the difference between this one and the one above--the bottom band is narrower, so it looks taller and narrower like a bishop's hat. A cool alternative is the Fleur-de-lis, which can be created by taking the exact same napkin and tucking the tips of the front flaps into the outer band, like so:
Very fancy!


Comments
Post a Comment